How To Assemble Your Cover
Assembling your USMC cover can be a daunting task the first time you have to do it, so we here at The Marine Shop have put together an informative video to guide you through the process. Whether you are building your first dress white or service green cover, or swapping between the two on a single frame, the steps are the same.
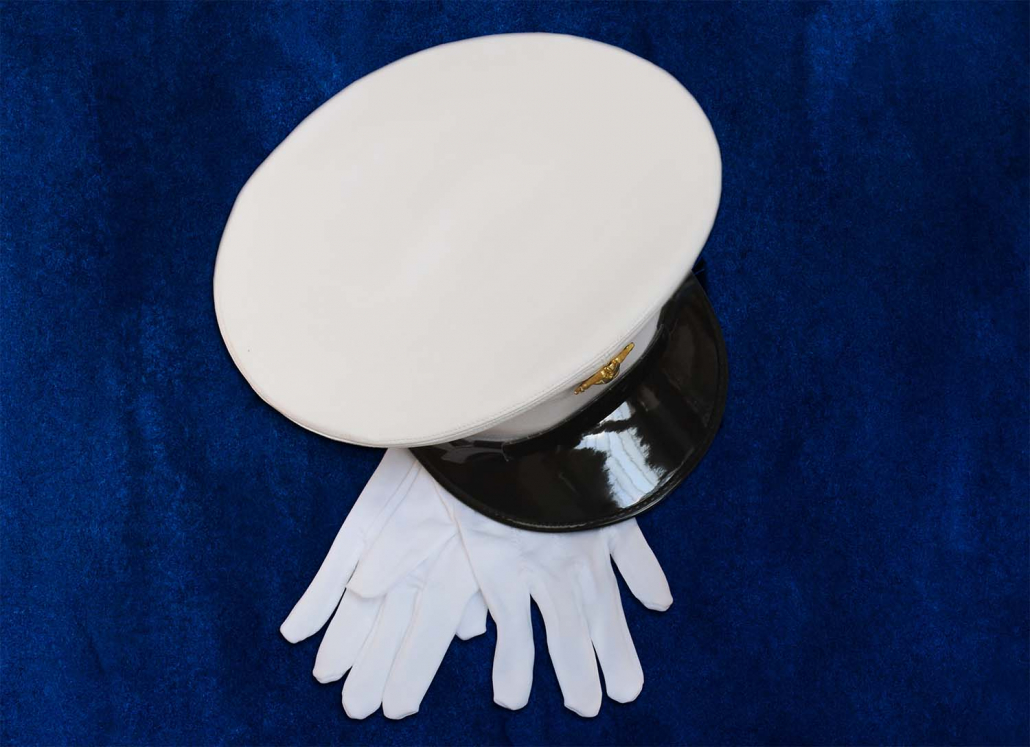
Your cover is comprised of a frame and the white cloth.
Remove the frame from the bag and retain the plastic bag to protect the cover when not in use. Use the plastic bag as a clean surface when assembling your cover. This will prevent dirtying the white cloth of the cover.
Remove the screw posts and the vinyl retaining strap. Grab the grommet and pull it through the headband. This allows for free play while placing the cloth on the frame.
Find the crown hole of the cover and line it up with the crown hole on the frame itself.
Set the cloth and bill upside down and facing you. Squeeze the headband to ease the cloth over the frame. Work and rotate the cloth until it is in position. Be sure to align the crown hole of the cloth with the crown hole of the frame.
Make sure the edge of the cloth is even with the seam of the frame.
Insert one of the screw posts on either side to anchor the cloth. Once complete, insert the screw post to the opposite eyelet. Check to make sure the center seam of the cloth cover is centered in the back.
Reinsert the grommet to make sure the seam of the rim is aligned with the metal band inside. The grommet is adjustable, you want just enough tension to give a firm push without a fight.
Once in place, adjust until the seam of the white cloth rim is lined up with the grommet all the way around.
Once assembled, reattach the vinyl strap over the screw posts. This will help your cover maintain its shape.
Place your assembled cover inside the plastic bag for clean storage.

